With the night and the black wind high, I’m not right, it’s clear blue skies, I’m not right nor right
Anyway, today's weather is generally cloudy with clouds of white clouds floating in the sky.
So, I came again (Pian) posts (Jin) (Bi)
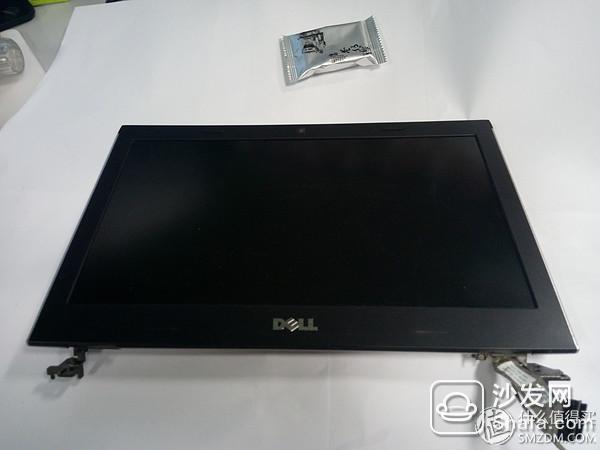
Colleague Xiao Huang Dell's achievements 3350 machine, the operation process, the screen will flash, is the following, there is no flash of a sparkling feeling?

Based on the principle of first soft and hard detection, it is confirmed that the problem is a screen alignment problem. As a result, when preparing to find a sales order, it was found that this part of the company had no sales.
Decisive Taobao, 25, Shunfeng to pay, delivery the same day, received the next day, demolition Look Look
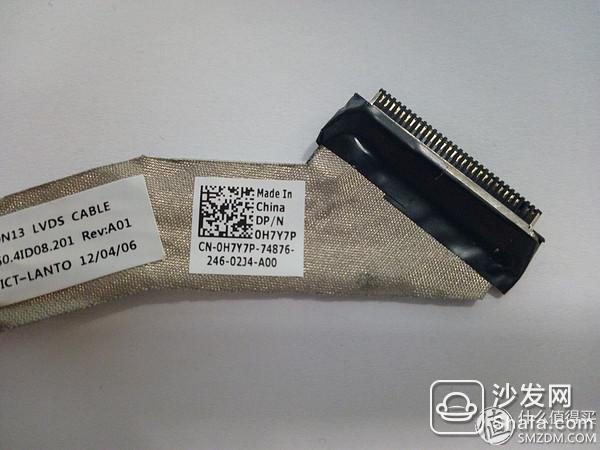
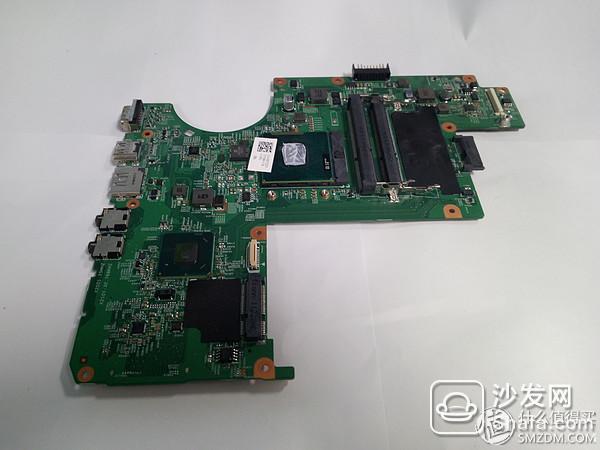
Check whether the part number is correct. Incidentally, here, how do you see the part number of the Big D company? Big D company, all the computer components, there is a string of CN-0*****-*****-***-****-*** code, including CN-0 after 5 The number of digits is the part number of Dell, the internal part is called Part number, abbreviated PN
Confirm the part number is no problem, take the machine, ready to start

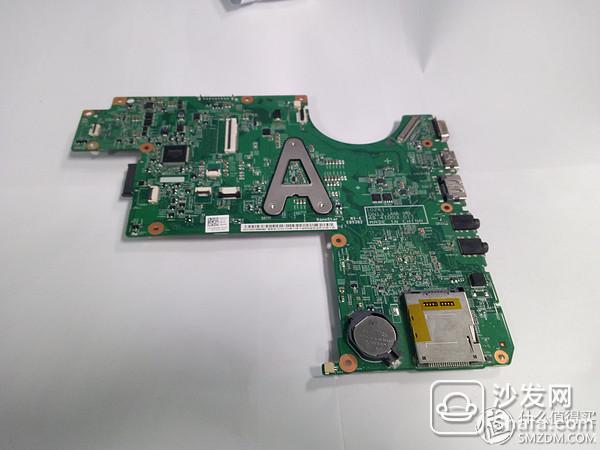
At the bottom, we also look at the laser marking of the internal auction machine of DaD Company.

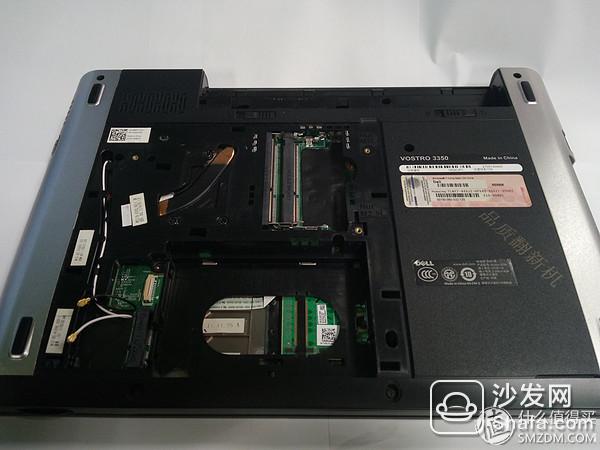
Remove the battery first and then remove the bottom cover
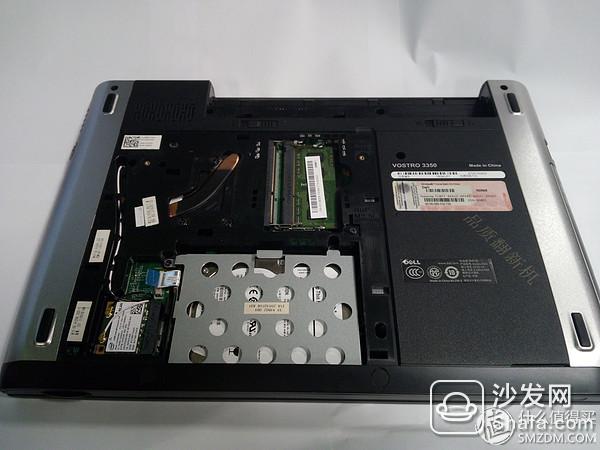
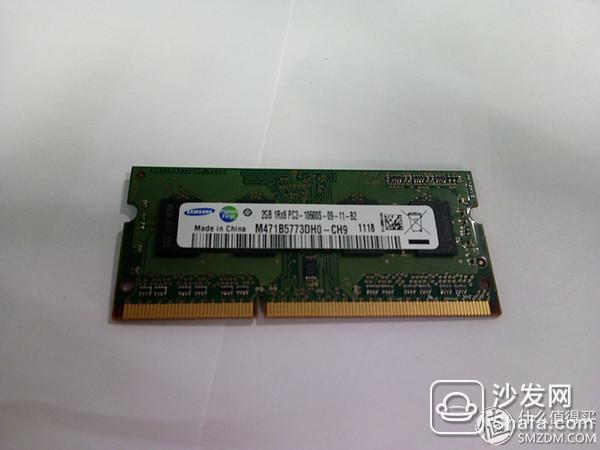
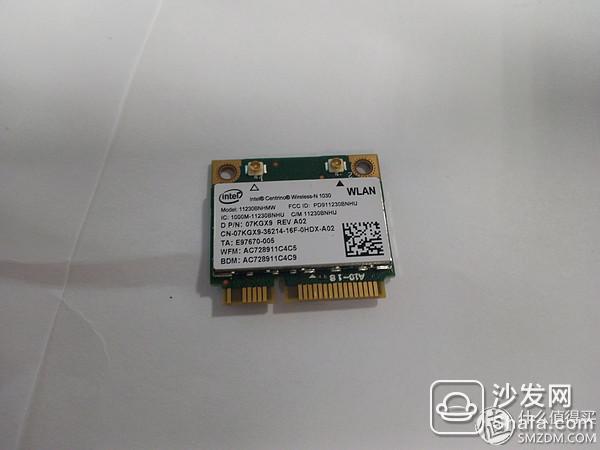
Then unscrew the two fixed screws on the hard disk, remove the hard disk data cable, remove the hard disk, and remove the wireless network card and memory by the way
This is the removal of Samsung memory and Intel's N1050 wireless network card
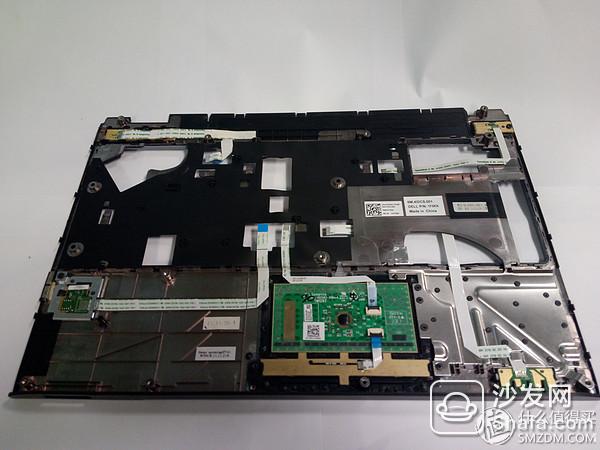
Then screw down the screws under the bottom shell. Notice that there are four screws under the four rubber pads. Then turn it over, remove the keyboard, and there are several screws under the keyboard, also removed
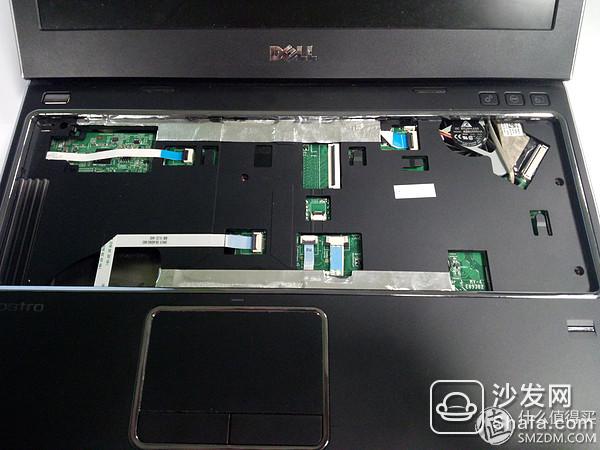
Finally, remove all the C-shell connectors and remove the C-shell. This is the removed C-shell.
Continue after removing the shell
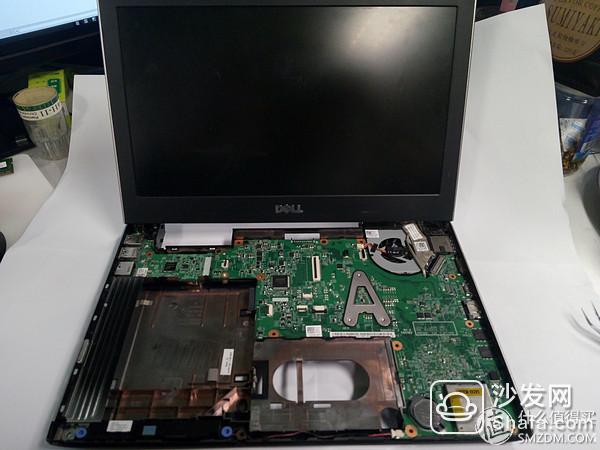
Twist off the top several screws, remove the fan cable plug in the upper right corner, the lower right corner speaker cable connector, you can lift from the left, get the motherboard
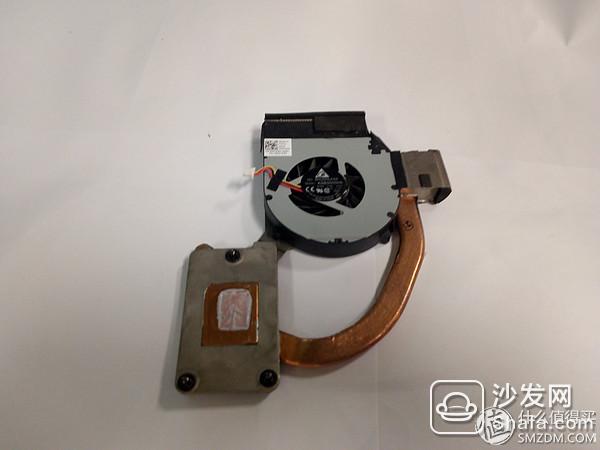
There are radiators, by the way to clear the ash
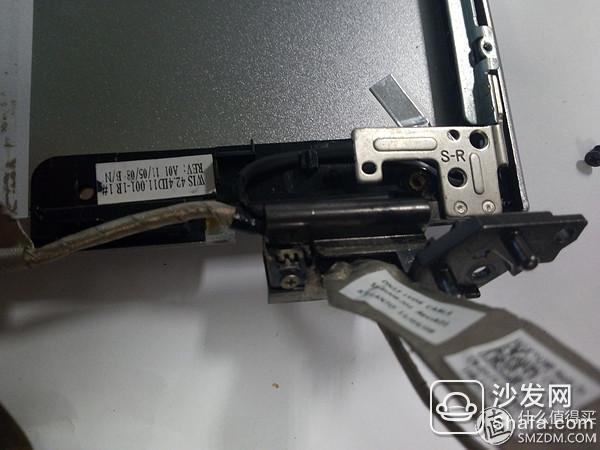
Well, the remaining D shell inside, the upper left corner, the upper right corner of the shaft fixing screws are down

Remove the screen
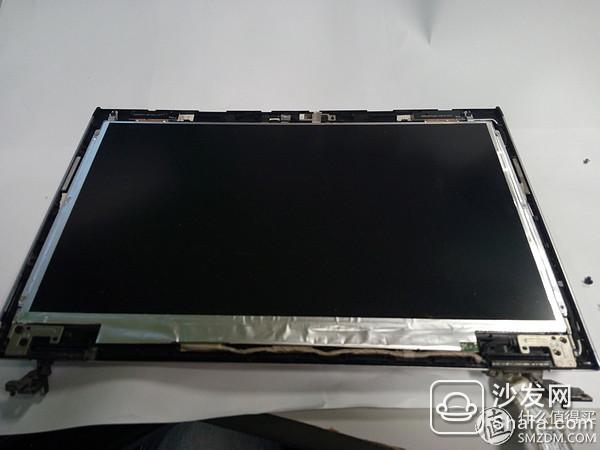
The next step is to remove the screen frame. This requires a little patience. The technique is to use a knife to pick up a little from the seam in the lower right corner, and then use your nails to smash it in the past. All of them are snaps, and all of them are finished.
Unscrew the four silver fixing screws on the screen panel to remove the screen panel. Be careful.
The screen is like this
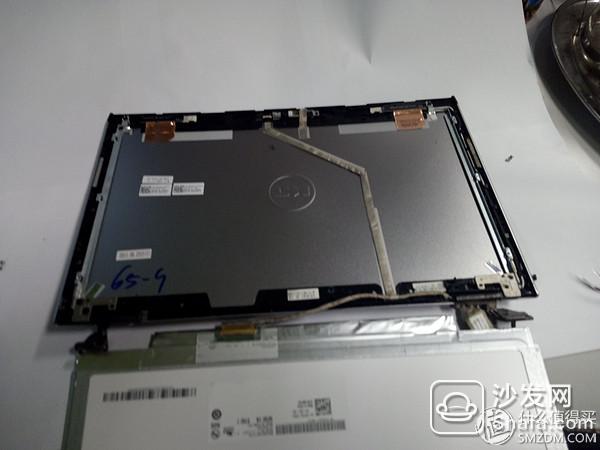
Screen cable slot

Camera, microphone, and ambient light sensor cable
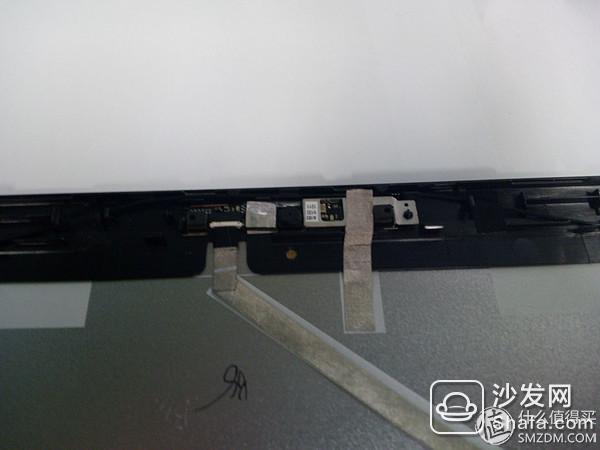
Tear off the cable, and then pay attention to the right shaft screw must be removed, pay attention to the axis of the shaft there is a screw to remove it
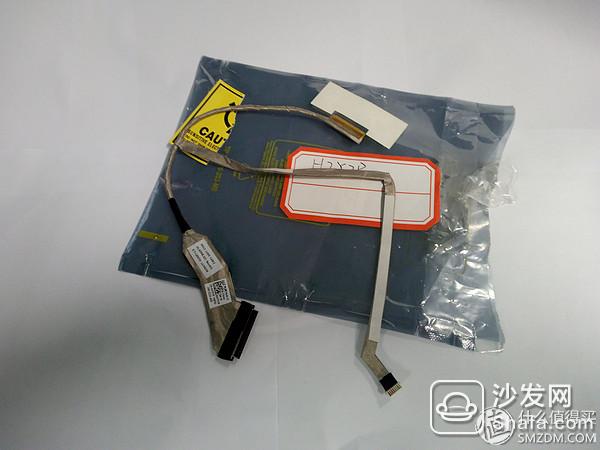
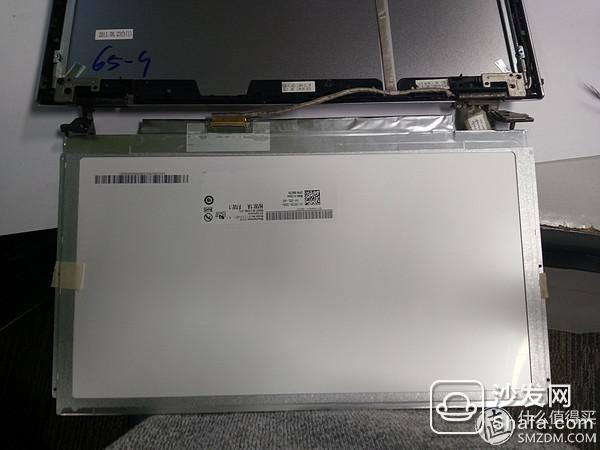
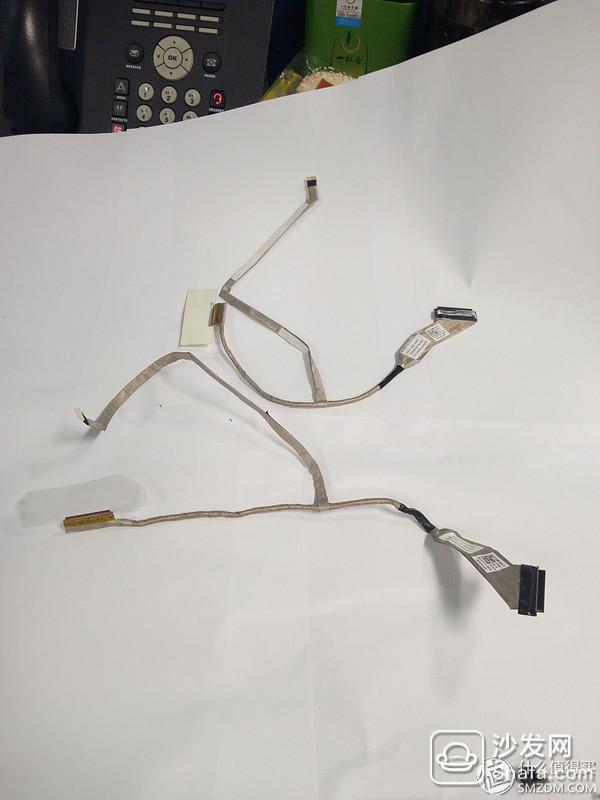
Then, you can remove the cable. The top of the picture below is the newly purchased cable, below is the removed cable.
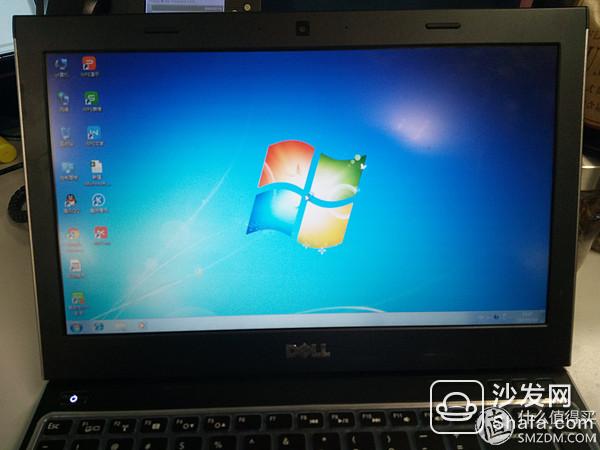
Well, now it's time to put the new cable in, install it, and get it. There should be applause here.
Air Circulation Fryer,Electric Oil Less Fryer,Large Capacity Air Fryer,Multi Function Air Fryer Oven
Ningbo ATAP Electric Appliance Co.,Ltd , https://www.atap-airfryer.com